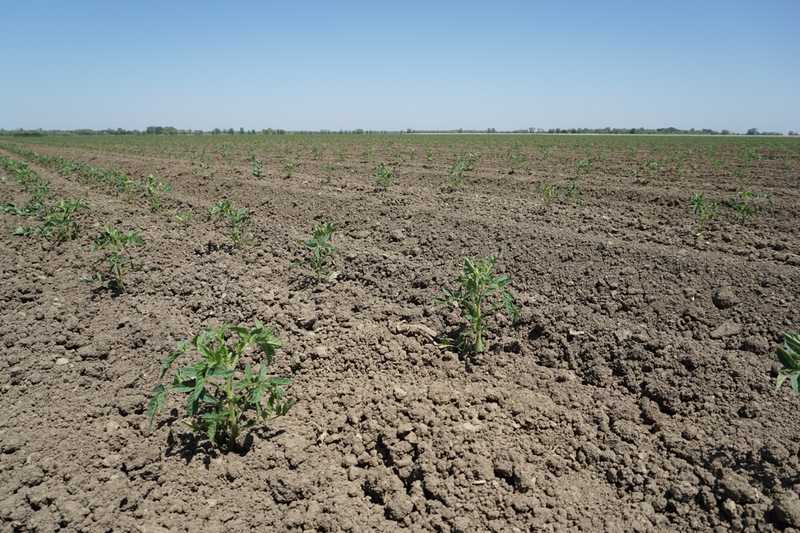
Mapping Tomato Field For Plant Counts with DJI Mavic 3 Multispectral
December 04, 2023
When DJI’s new Mavic 3M multispectral drone landed in the market, a lot of heads turned. We decided to take a deep dive to see what’s making it so popular and see how it performs in precision agriculture research like plant counting and field analysis.
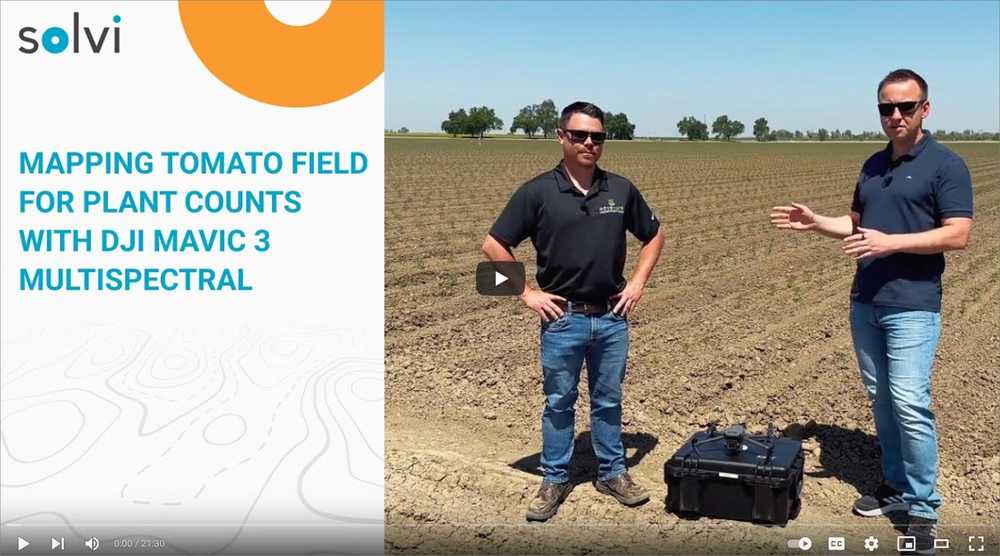
Recently, we put the DJI Mavic 3M through its paces to count plants in a 60-acre tomato field outside of Davis, California. Here’s a look at the new hardware specs and our workflow to get fast, accurate full-field plant counts.
Prefer a video version? Head to our YouTube channel to watch the walkthrough.
What’s New on the DJI Mavic 3M Drone?
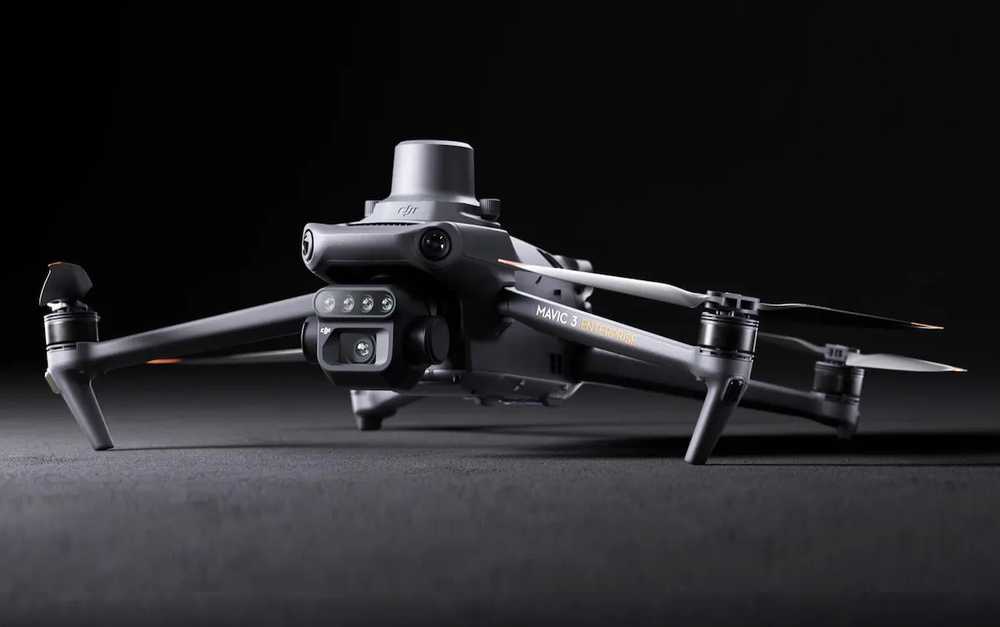
Quite simply, it’s an all-in-one platform designed for easy out-of-the-box use. It offers a combination of powerful, yet affordable, features well suited to agriculture.
- Integrated 4-light band sensors: green, red, red-edge and near-infrared
- Integrated 20-megapixel RGB camera
- RTK module for geolocation (for spot spraying or other precision applications)
- 4K visual display remote control for real-time monitoring
- Embedded light calibration sensor (DLS)
- Up to 43 minutes flight time
- ~$5,000 retail price
Integrated RGB and Multispectral Sensors
The most noteworthy feature is definitely the Mavic 3M’s integrated camera system, including a 20-megapixel RGB camera and four individual light band sensors: green, red, red-edge, and near-infrared. It also offers 4k video for real-time in-flight monitoring.
This combination provides detailed RGB imagery for plant counting and rich multispectral data on field crops, vegetation, and environmental conditions.
Flight Time
The Mavic 3M offers a flight time of up to 43 minutes. We flew our 60-acre field flight at 30m/100ft altitude for a total flight time of about 2 hours, requiring several battery changes. This extended flight time was for sure a welcomed improvement!
RTK Positioning
The Mavic 3M offers a high-precision RTK GNSS system for positioning, which is essential for applications that require high geospatial accuracy, like for example spot spraying.
We had some issues with GPS accuracy on some images. Fortunately, these didn’t interfere with our plant counting application. But it serves as a good reminder to review your flight imagery while still in the field to ensure fidelity before you leave the location!
Radiometric Calibration
DJI includes an on-board downwelling light sensor (DLS) to assist in radiometric calibration in the Mavic 3M. Calibration panels are not included, but we took shots of a third-party panel before and after our flight to more accurate calibration of the imagery.
There were significant differences in our resulting multispectral data (i.e. vegetation indices) between the two calibration methodologies. Since plant counts rely on RGB imagery, this wasn’t an issue for our test.
We’re working to understand DJI’s proprietary differences but feel that consistency is key for comparable data. If you start using panels, keep using them. If you use DLS, stay the course.
Affordable Price Point
In addition to its hardware features, the Mavic 3M boasts a competitive price, retailing around $5,000, which makes it a really attractive option for an all-around RGB and multispectral crop monitoring platform.
How to Create a Mavic 3M Flight Plan
Here’s the workflow we used in our tomato field test to evaluate the Mavic 3M’s imagery in Solvi for counting very small plants.
Mavic 3M Field Flight Setup
- Unbox and unfold drone arms
- Add a fully charged battery
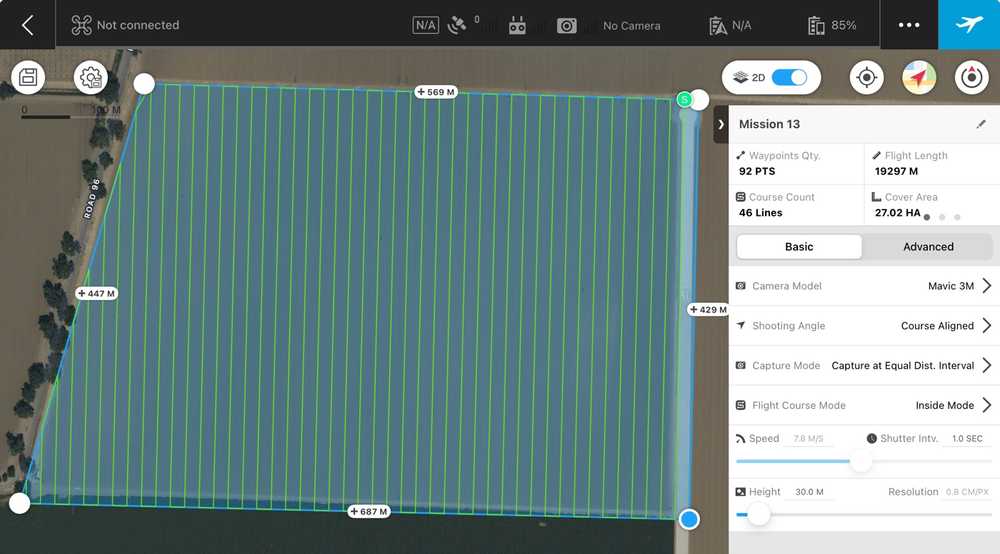
- Create our flight plan on the remote control by setting:
- Field boundaries: plot points and draw a polygon on the visual map
- Overlap: We opted for 75% frontal and 65% side
- Speed: 8 m/s (speed set by the flight planning app based on flight altitude and overlap)
- Altitude: 100ft/30m to render sub 1cm/pixel of ground sample distance
- Dewarping: We toggled that on to remove the “fisheye” effect in the images
- Launch drone
- Change batteries as needed (see note below)
- Post-flight, check the imagery before leaving the field
- Ensure photos were recorded
- No obvious gaps in image mapping
Because our altitude was relatively low and our field quite large (60 ac or 24 ha), we had to swap batteries 4 times. (Make sure you have enough fully charged batteries in your kit!). Our total flight time was about 2 hours.
Uploading Mavic 3M Imagery to Solvi
After verifying our imagery, we were ready to upload it to Solvi for image stitching and analysis.
Here’s our process:
- Save all images to the computer hard drive first (uploading images directly from the SD-card may cause upload interruptions)
- Mavic 3M stores in 2 folders: one for RGB and one for multispectral
- Multispectral images are numerous! (4 images per capture). For our tomato field we collected 2793 RGB and 11168 multispectral images
- Review a few images and verify it is the right data set and make sure they are clear
- Login to Solvi
- Upload by selecting “Overlapping Images”
- Select and open all images at once (include calibration images if you use the panel)
- Name the field and crop dataset
- Solvi will email you when the imagery is uploaded and processed
How Does the Mavic 3M Multispectral Drone Perform in Plant Counts?
The Mavic 3M was easy to fly but the data is what matters. So, how did the imagery perform in our plant count test?
Despite minor hiccups, the Mavic 3M did great for our needs. Here’s how we went from images to insights in Solvi.
Creating Plant Counts from Mavic 3M Imagery
With the imagery stitched and mapped in Solvi, we could dive into the analytics.
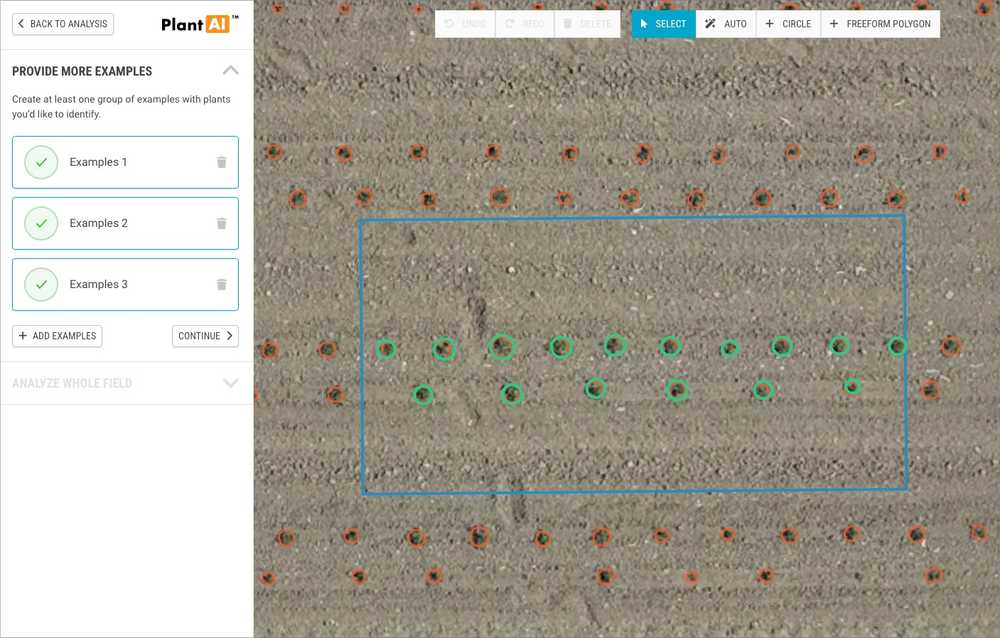
- Select RGB imagery & toggle on the PlantAI tool
- Choose “Create Detections” for DIY analytics or “Request from Solvi” for “Done for You”-option
- Resize the sample area rectangle
- Use the circle tool to select 10-20 example plants
- Include weeds or other items in the sample rectangle (but don’t circle in those!)
- Preview to see potential results. If effective, continue with the whole field.
- Basic counts (great for commodities like corn or soybeans)
- Plant-level data (for research trials or specialty crops)
- Inspect results for accuracy
- To improve detections, provide more examples of acceptable plants.
- Happy with the results? Choose the best iteration & start analyzing.
Analyzing Solvi’s Plant Counts Data
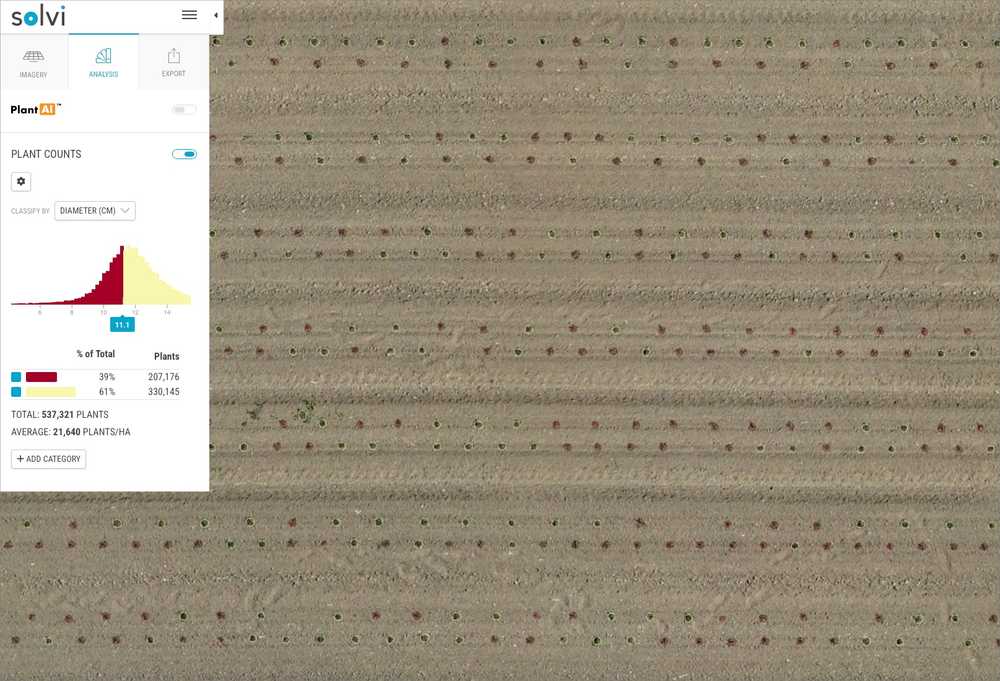
With our plant counts curated, we’re ready to investigate metrics for the full field, by zone or per plant. A total of 537,321 plants were counted in the field, or an average of 21,640 plants per hectare. In addition, we could visualize the results by these metrics:
- Total plant counts, average counts, counts by category
- Plant size (diameter or area)
- Plant health (GRVI, VARI, GLI)
- Plant row/gap spacing
Sharing Data from Solvi
To share or export data, we can select which data layers are needed.
- PDF snapshot (for the full field or individual zones)
- SHP or CSV file for GIS analysis or R-script analysis
In the end, the Mavic 3M provided an excellent easy-to-use platform to collect RGB imagery for basic plant counts as well as multispectral imagery for detailed plant health analysis.
If your research requires rich plant data, try pairing DJI’s Mavic 3M drone with Solvi’s AI-powered agricultural analytics.
Advantages of Solvi’s AI-Powered Plant Counts
- Ag-specific - Solvi’s analytics platform was built exclusively on agricultural models. Over the last seven years, we’ve analyzed tens of thousands of fields for the most sophisticated algorithms.
- Accurate - Our customers report accuracy rates comparable to time-consuming manual counts.
- Customizable - Solvi offers the only user-trained model that allows you to define and adjust the counting parameters.
- Flexible - Choose your level of detail: basic counts or PlantAI-assisted counts with plant-level data.
- Easy - Solvi’s click-and-drag model training is fast to learn.
- Fast - User-generated counts are available in less than an hour and outsourced counts are done in one day.
Agricultural Accuracy
At Solvi, we’ve counted millions of plants for growers, agronomists, and agricultural researchers across the globe. Our advanced plant counting algorithms were developed by and for agricultural researchers to simplify field analytics.
Renowned breeding and research institutions, such as Rijk Zwaan, Agrovista, Nordic Beet Research, the Swedish University of Agricultural Sciences, and many others, rely on Solvi’s image-stitching and analytics tools to enhance the speed and precision of their data collection and analyses.
Want plant-level data from your drone imagery? Experience the accuracy of Solvi with a free trial on your field data today.
